small exhibition stand design
Small Exhibition Stand Design: 8 Ideas for Greater Impact
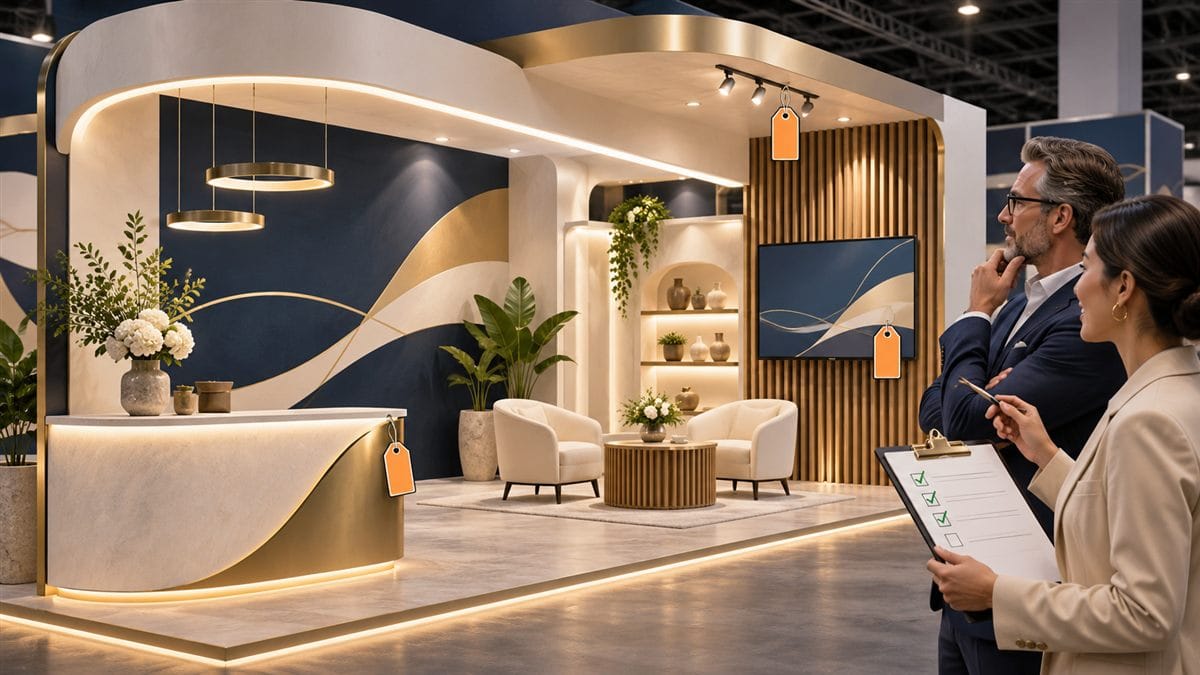
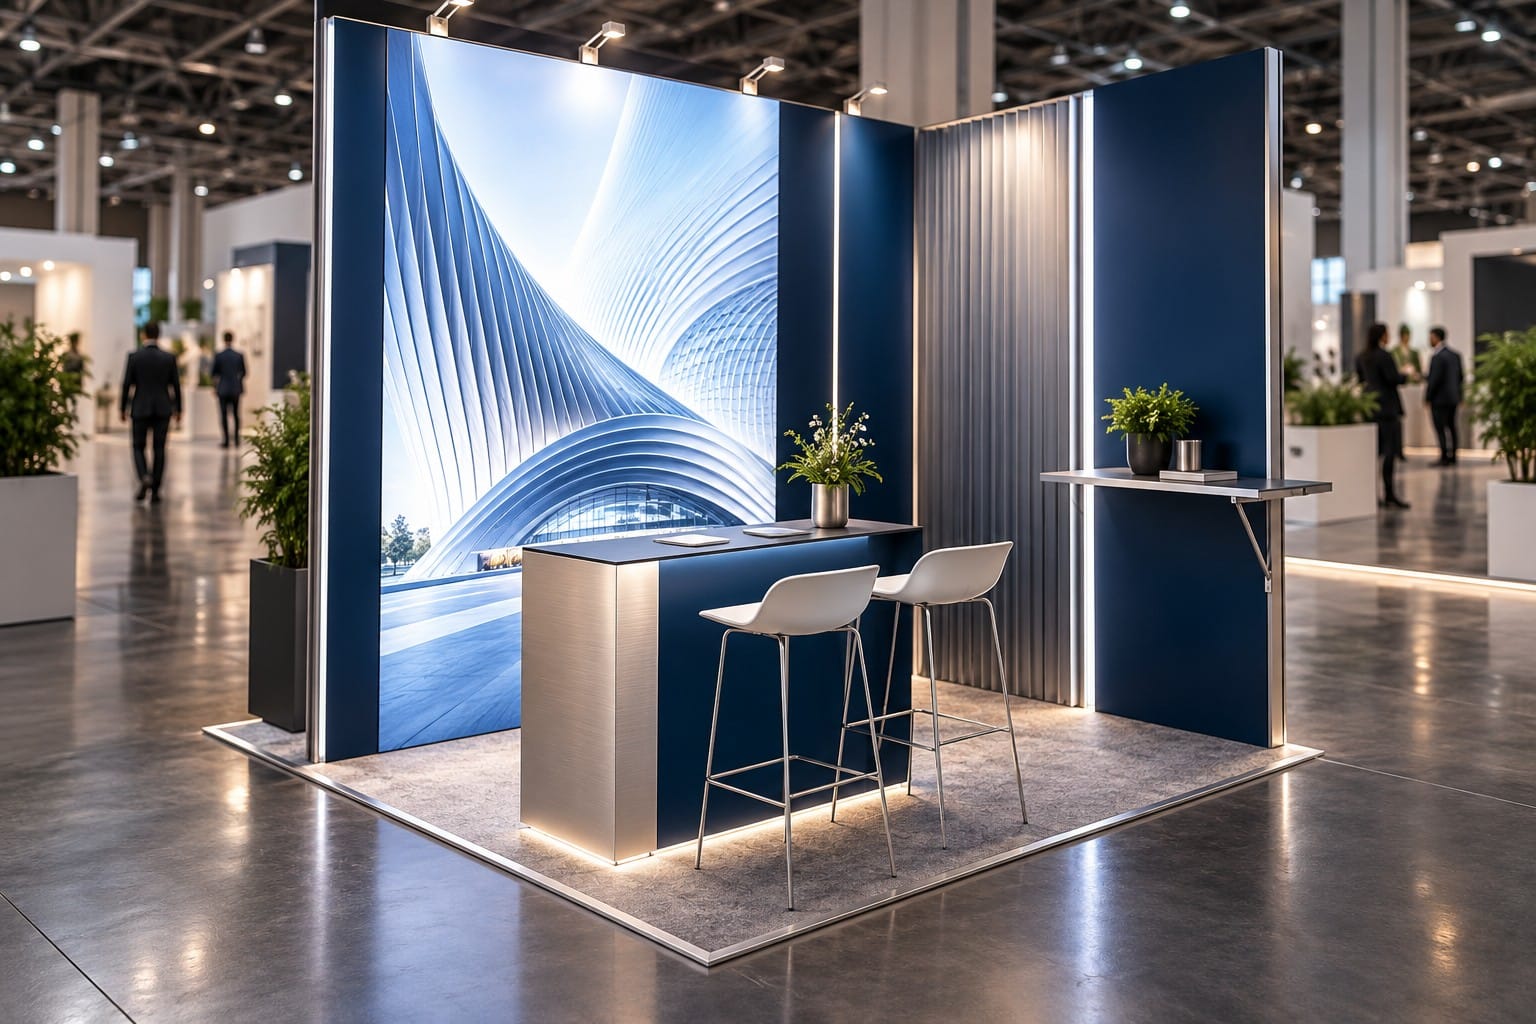
Small exhibition stand design is a matter of priorities, not a smaller version of every feature on a large stand. A compact space has to make the offer understandable, allow a useful product encounter and give staff somewhere to work without blocking the entrance.
Use the measured venue plan and the actual product dimensions to evaluate the following eight ideas. None removes the need to check the organiser’s access, accessibility, safety and technical rules for the chosen space.
1. Choose one primary visitor action
Decide whether the stand mainly needs to support a product demonstration, a sample comparison, a short sales conversation or a scheduled meeting. This decision sets the central use of the floor. A compact stand trying to deliver all four at the same intensity can leave too little room for any of them.
Write the main action on the brief and identify the minimum furniture and equipment it needs. Add secondary functions only after the main activity works in the plan.
2. Keep a clear invitation to enter
Do not automatically place the largest counter across the open frontage. Test an offset reception point or a more compact greeting position while keeping an unobstructed route into the product area. Account for staff standing beside the counter, bags and open cupboards—not just the outline of the furniture.
For a corner stand, examine both approaches. A layout that reads well from one aisle can show a closed back to the other.
3. Edit the product selection
Give a few relevant products enough room to be understood rather than displaying every available variant. Agree a lead product, supporting samples and items that staff will retrieve only on request. A catalogue or screen can support the selection, but should not conceal the physical product that visitors came to inspect.
Record which samples are replenished during the day and where they will wait. This makes the selection workable rather than merely visually sparse.
4. Give walls a useful display role
Consider wall-mounted samples, a shallow display or a vertical product arrangement where appropriate to the product and approved structure. Confirm the real loads, connections and access with the technical team. “Use height” is not permission to add an unverified tall wall or hang heavy products from a decorative surface.
In the 36 m² Casa Naturale Heimtextil 2026 project, the documented layout combines two open sides with a curtain display system. It is a useful reference for organising a product-specific display, not a template to copy without reviewing your own collection and footprint.
5. Make storage part of the furniture
A counter with planned storage, a service cupboard or a defined sample drawer can prevent packaging and spare stock spreading onto the floor. First list what must be stored: coats, catalogues, cleaning materials, personal belongings and replacement products require different access.
Check the furniture with doors and drawers open. Storage that blocks the only route every time it is used does not solve the operational problem.
6. Use a meeting format that matches the conversation
A brief discussion over a sample does not always need a full meeting room. Compare a compact table, a standing discussion point or appointments arranged outside the busiest demonstration period. Do not remove seating that your visitors or staff genuinely need just to make a rendering look open.
Place chairs in their occupied and pulled-back positions during the plan review. Include staff and visitor numbers in the test instead of assessing only an empty floor plan.
7. Reduce competing messages
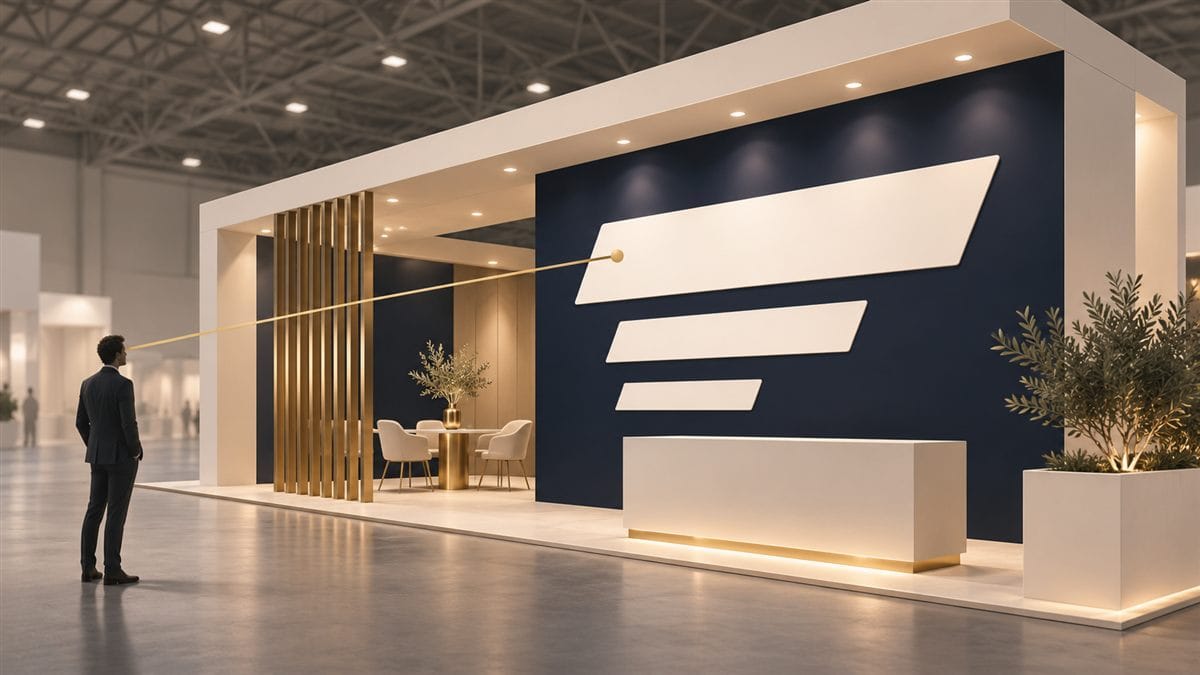
Let the logo, main offer and product labelling do different jobs. Use a short category or benefit message that a passing visitor can understand, then put detailed information near the relevant product. A different headline on every surface can make a small stand harder, not easier, to read.
Review graphics together with shelves, screens and door positions so the important sentence is not hidden by equipment or split by a panel joint.
8. Test the complete working layout before approval
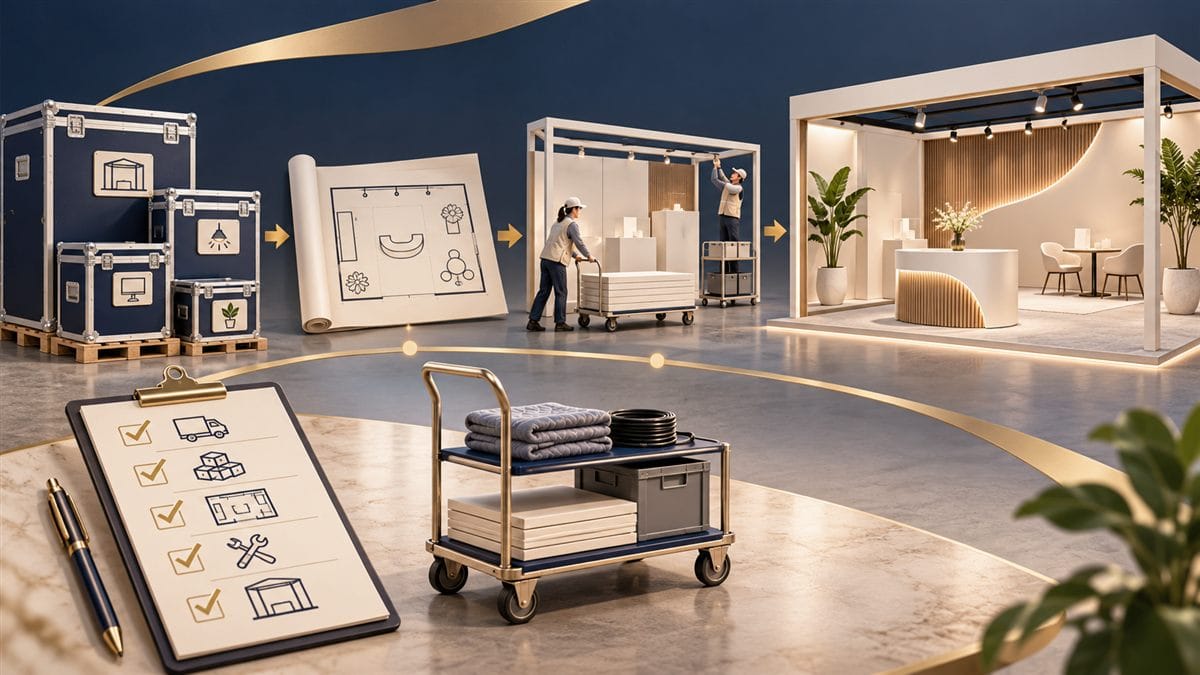
Rehearse a realistic encounter: a visitor enters, staff introduce the product, a sample is retrieved, a chair moves and another person passes. Mark the actual dimensions on a suitable review floor or use an accurately scaled layout. Include cables, product cases and the equipment that will be present during the show.
This test may reveal that moving a counter or removing one display improves the stand more than adding another decorative feature. Record the final agreed layout so late additions do not undo the space planning.
What to send for a compact stand proposal
- The organiser’s measured plan, open sides and any fixed obstructions.
- The primary visitor action and expected number of people using each function.
- Product dimensions, sample quantities, equipment and electrical requirements.
- The storage list, seating needs, brand files and budget range.
Compare the flexibility of a custom-designed stand with a modular stand system for your actual space and event programme. To discuss an appropriate layout, send your stand brief to Zana Architecture.